pictures

              shop                               facebook                                blog

Monday, September 7, 2015

it's not over yet!

Happy Labor Day everyone!!!
 
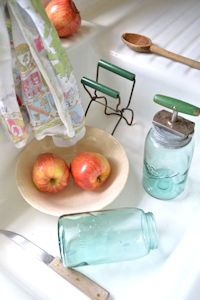
I love this time of year but for so many people it means the end of summer is near. Well it's not over yet. The first day of fall doesn't arrive until September 23rd. So take advantage of the beautiful days ahead. One way to pay homage to summer, the picnic season, is to create a lovely tray using vintage materials and images of antique seed packets.
 
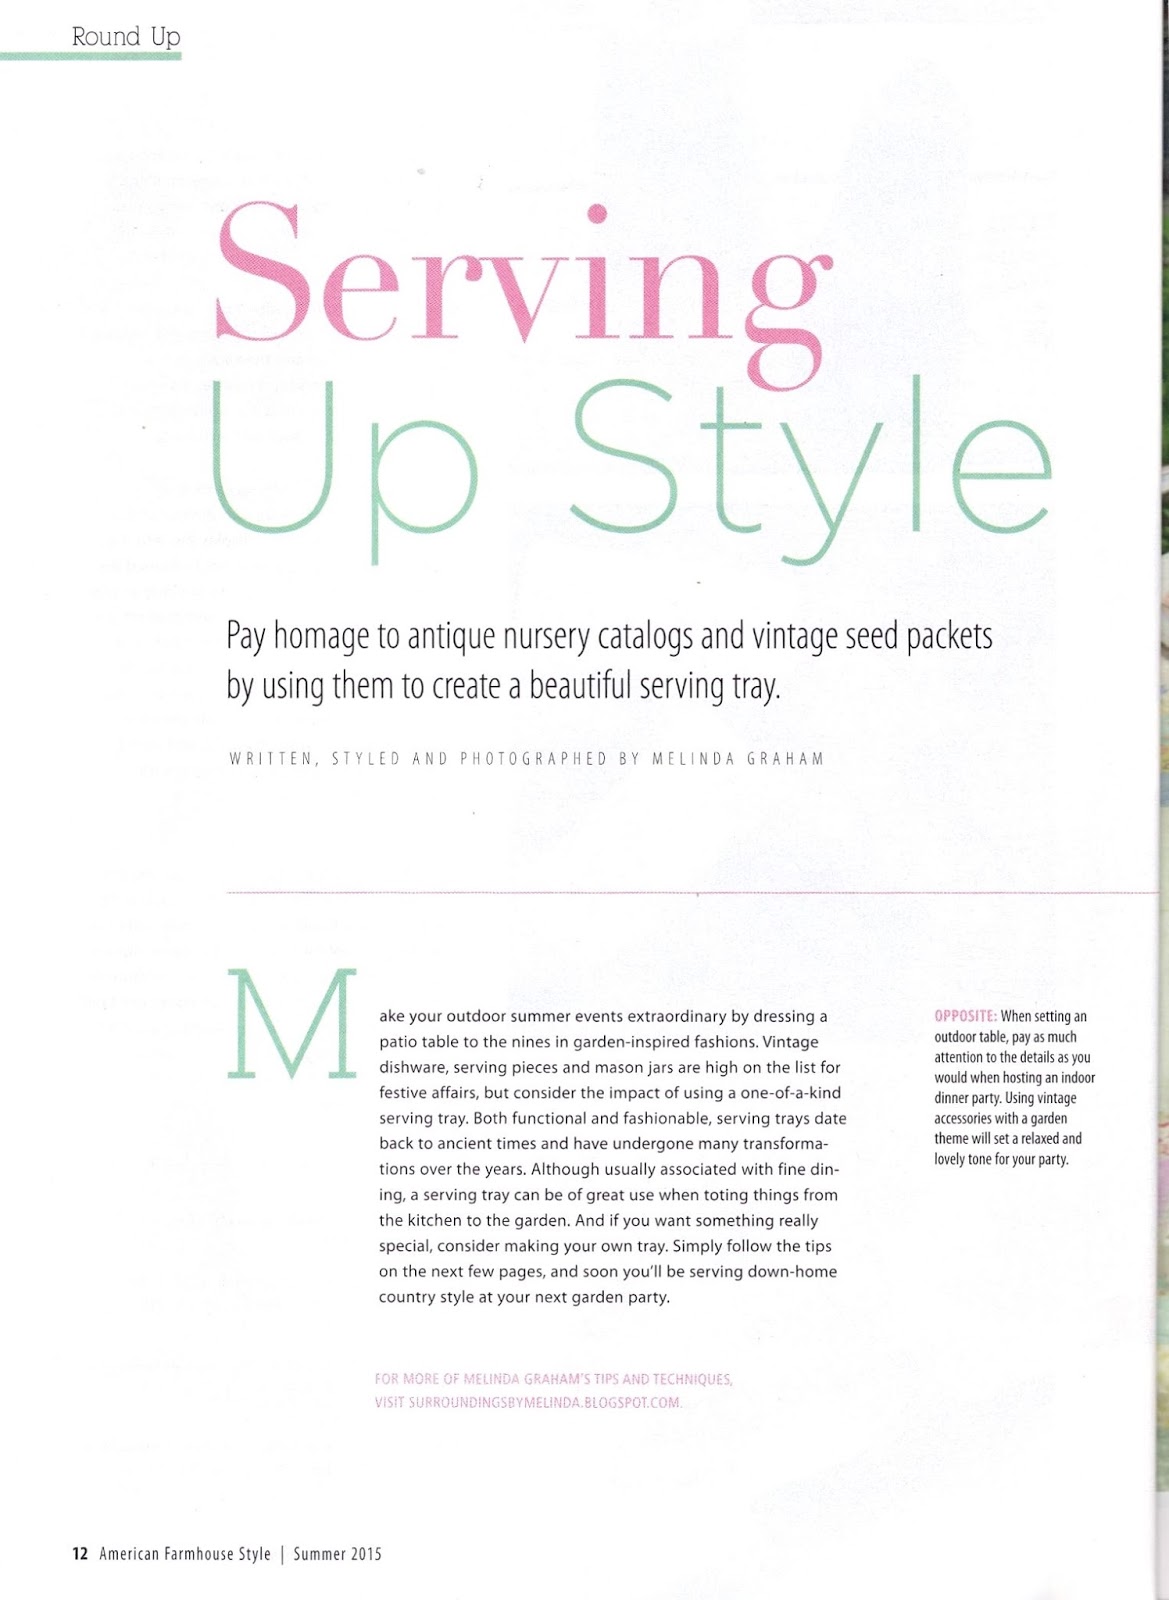
In the summer issue of American Farmhouse Style magazine I featured an article on how to create a charming seed packet tray. Here's a peek at the article and the instructions follow...Enjoy!


Materials:
Old tray, glass and wood backing
Small nails and hammer
Screws and screwdriver
Paint and paint brushes
Foam core
Photo paper
Copies of vintage seed packets and catalog covers
Felt
Craft glue
Scissors
*Optional: pressed flowers 
 
Take apart the tray by carefully removing the backing and glass.
Paint frame and allow it to dry completely.
Sand the frame to give an aged appearance and wipe clean.
 
Cut a piece of foam core to fit inside the frame.
Print and cut out images of vintage seed packets and old seed catalog covers.
Arrange all of the cut-outs on the foam core.
Once the final arrangement is configured, make decoupage medium by mixing ¾-cup white craft glue and ¼-cup cool water in a bowl.
Paint a thin layer of decoupage medium on the back of each cut-out and secure in place. Allow the glue to dry completely.
 
OPTIONAL: glue dry pressed flowers and petals randomly
onto the ephemera.
 
 
Clean the glass and place it into the tray then gently
add the foam core as to not damage the paper or petals.
  
Secure the foam core into the tray by nailing small brads along the perimeter. Do not nail too closely to the corners
or the glass may break.
 
 
Reattach the wood backing to the tray.
 
 
Cut a piece a felt the size of the tray and glue onto the back. Allow to dry.
 
 
The seed packet tray is ready to serve...
 
 
This story was featured in the summer issue of
American Farmhouse Style magazine.
It's a beautiful publication from cover to cover!
 
 
 Serving up Style...

 
Trays aid in table service for outdoor dining and they make a charming addition to any picnic.

 
Make the most of the remaining days of summer!!!

 
Here are a few images of vintage seed packets you can download and print for your next project.


Thanks so much for visiting.
I hope you've had a wonderful Labor Day!!!


Wednesday, September 2, 2015

a loo re-do


I want to first begin by sending a huge "thank-you" to all of the amazing people that faithfully follow my articles in various magazines. Especially the feedback for my monthly feature in Romantic Homes! From the last issue (August/Sept 2015), I had a large number of people asking loads of questions about the vanity project as seen on pages 48-53.


I thought it might be helpful to post more photos along with the instructions for any of you thinking of tackling this project...
 
 
  This little cottage style room was just asking for something old. Adding a brand new ready-made cabinet would seem horribly out of place. It can be a challenge at times to keep the charm of an old home when adding or remodeling modern amenities. In this case, an old vanity was repurposed into a charming sink.
 
 
At first glance the vanity had clearly seen better days. Yet upon closer inspection it was apparent that the structure was completely sound. The tattered appearance helped because it obviously affected the price tag of $25.00 “to a good home”. The sink and faucet were found for a steal at Restore. The plumber cut out a hole in the top for the sink and removed a bottom section of the center drawer to make the necessary room for the pipes and as quick as 1,2,3 the vanity was installed and water was flowing! 
 
A couple of coats of latex paint softened the appearance and a bit of sanding added a lovely aged distressed appearance. The top of the vanity was given a final coat of matte water-based polyurethane for an extra layer of protection.
 

The fact that this was a replacement of an existing sink with all of the pipes and drainage in place it made for a simple transformation by a qualified licensed plumber.
 

The final touch to the vanity was the addition of the skirt. Even though the vanity has a few small drawers, this bathroom like so many is lacking in storage space. The space under the vanity can house cleaning products but that certainly takes away from the beauty. Hide the mess with a beautiful custom curtain with little money and less effort. Surprisingly it couldn’t be easier.


The bottom of a thrift shop shower curtain ($3.00) was cut off to the length of the opening of the space below the vanity. Then a one inch rod pocket was stitched straight across the top. (*There is no need to sew a hem when using the finished bottom of a shower curtain.) Two small metal screw hooks ($1.50) were placed on the face of the vanity leaving the top drawers exposed. A café curtain rod (less than $10) is used to hang the curtain from the metal hooks. All-in-all the material cost was less than $60.00 but the overall impact is priceless. 

 
Once the sink was in place, finished and dressed, the entire feel of the room changed (for the better). Coupled with the aged finish on the walls and the natural hardwood floors, this was now a “room” in need of decorating.  
 
 
The walls were clad with floral prints and decorative plates, small wooden shelves were added for display and vintage collectables were peppered throughout to tie the space together.
 
 
A bathroom re-do can be an overwhelming project to face. However the task is achievable and can be kept within a relatively tight budget. An old wooden vanity can be transformed into an incredible and one-of-a-kind sink with a little help from a plumber and lots of TLC. 
 
 
This entire issue was dedicated to flea market treasures. To order this back issue or to subscribe please click the link... 
 
 
I really appreciate all of the wonderful feedback. Without readers magazines would not exist. Thank you so much for supporting me and this beautiful publication!!!