pictures

              shop                               facebook                                blog
Showing posts with label before and after. Show all posts

Friday, August 7, 2020

aquarium upcycle

 Since my last post is fresh on my mind, I thought I would share an idea I wrote about some time ago for one of my favorite magazines.

aquarium upcycle

It's pretty easy to find an aquarium at a yard sale or junk shop. This is a quick, easy and inexpensive way to recycle an old tank into a creative and elegant terrarium.

You don't need much to get started.

fish tank

pebbles

decorative rock or shells

potting soil

plants

decorative tape and glass shelf optional


Test the tank to be sure the bottom holds water without leaking.
If it does leak, simply use a waterproof clear caulk in the seams and allow to dry.
Starting on the bottom: layer small clean pebbles then add sterile potting soil.
Next, arrange the plants you wish to use. Once placed, be sure the roots are all covered with soil.
Lastly, secure the soil and plants with a layer of decorative river stone and or sea shells. If using shells, clean them very well so no sea salt residue remains.


I used a decorative tape around the top edge to add a touch of elegance to the finished terrarium.


This type of terrarium makes a lovely centerpiece.


I placed a piece of glass shelving that I had in my craft stash so I could display things on top.


Select the type of plants depending on whether or not your piece will have a top or lid.

Open terrarium:
air plants, succulents or cactus

Closed terrarium:
any plant that likes a damp environment
ivy, fern and tropical plants

Next time you see a small aquarium on a curb or inexpensively at a yard sale, why not take a chance and create a beautiful terrarium.


Friday, March 27, 2020

garden clean up

Since I garden all year long,
I get out of the habit
of spring cleaning my gardening messes.
I've shared my ideas for upcycling
flea market finds into useful
garden organizing ideas.
These are my favorites...
 
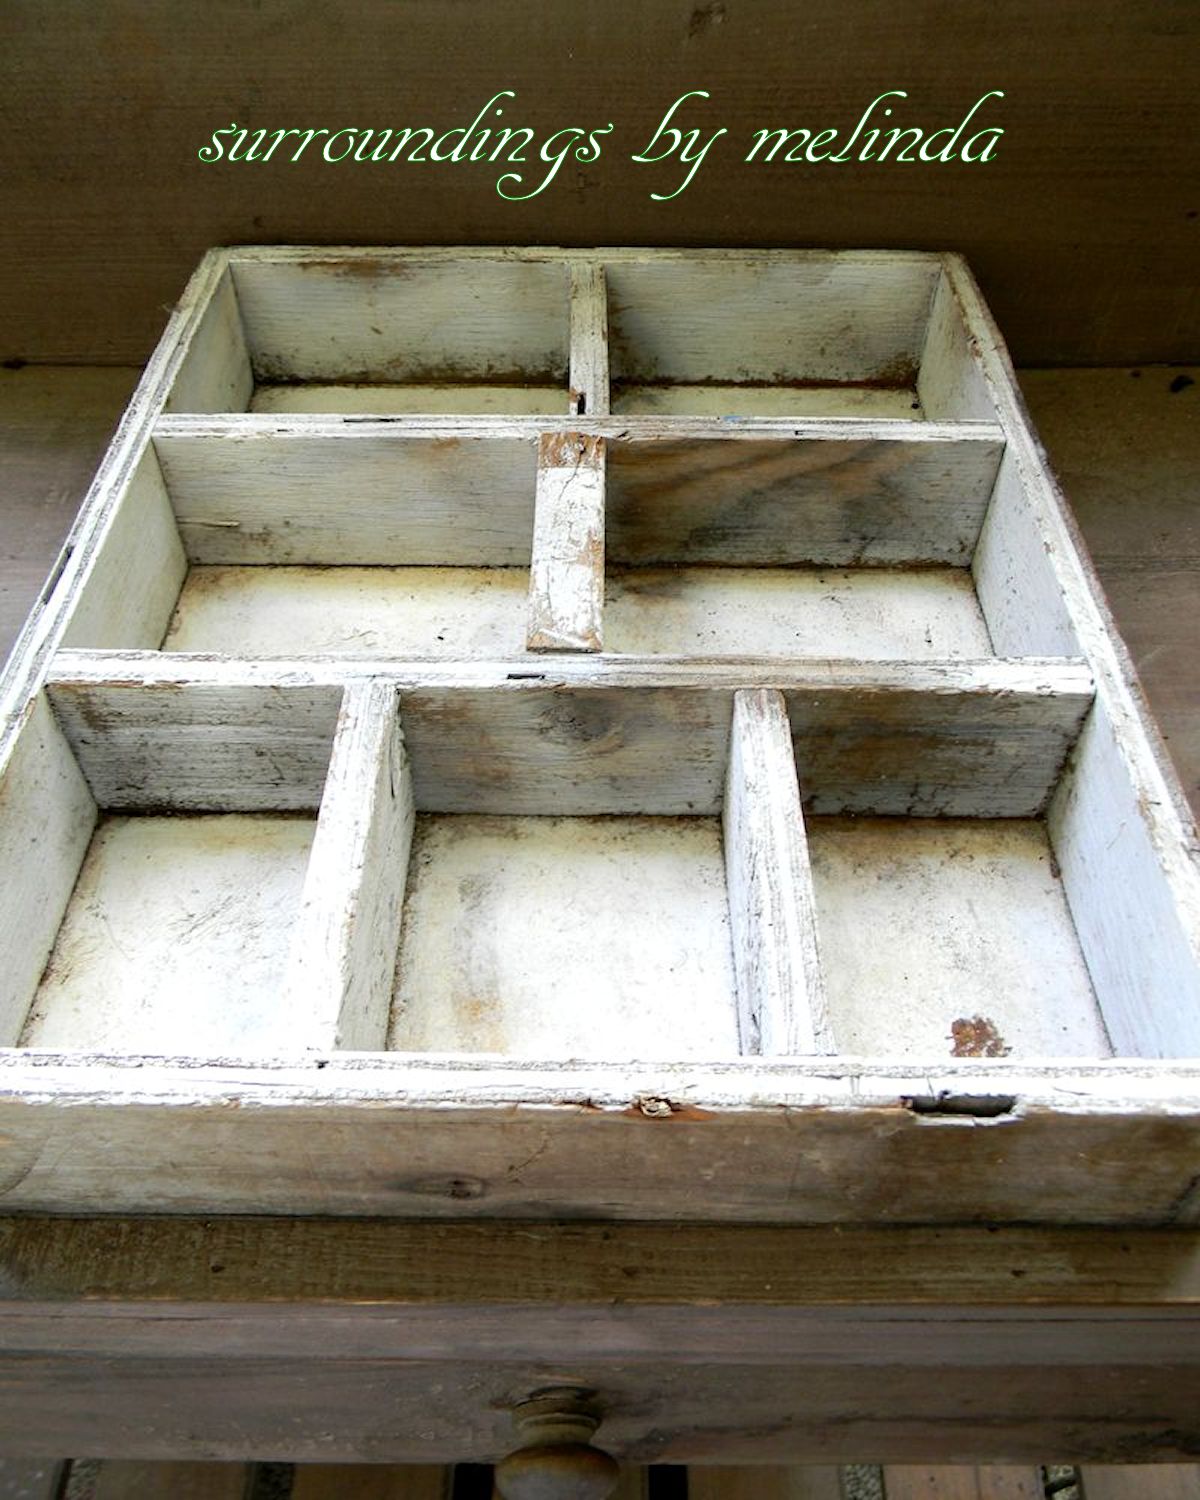
wooden divider

 
organize my small jars
and new succulents


metal jars and glass frogs

 
small pencils, paint brushes
and root plants in water
 
 
tool box insert
 
 
perfect catchall
for garden stuff

 
recipe box
for saving seed packets
 
 
muffin tin
for starting new seeds
 
 
glass jars
for storing seeds
 
 
I've been soaking and planting
my new bulbs and onions.
I can't wait to see them grow!


Happy Spring from
my garden bench to yours...


Friday, November 2, 2018

open to change

Pardon the pun, but are you open to change...? I was ready for a change but I found out quickly that my idea for a new look and the price I was willing to pay were way off. So I came up with a budget friendly option! How cute are these door?
 
 
They didn't start out quite so stylish... The laundry closet in my Sanibel home is actually an enclosed area off the kitchen. The bi-fold doors were very dated and not in a cool vintage way.
 
 
I took drastic measures and decided to remove the center panels. Fortunately they came out pretty easily with the use of a reciprocating saw. A little sanding of the edges made them paint ready. Then I primed each door and painted them with a matte light cream latex paint.
 
 
Once dry, I added a pair of screw in teacup hooks to the inside of the top and bottom of each opening.
 
 
I made curtain panels out of bleached burlap with a 1" rod pocket at the top and bottom. I used dowel rods instead of curtain rods to hold the panels in place. 
 
 
I did slightly distress the paint to give it a softer aged look. Then I finished the doors with a paint safe wax.
 
 
With a little creativity and elbow grease, I am thrilled with the finished result. The doors give the entire a space a fresh new look!
 
 
If you are "open to change", look around your house for something that could really use an update. Just be creative. Your wallet will appreciate it!!! "Budget friendly" is always stylish.


Wednesday, October 3, 2018

dressing the bench

Although living in South Florida on the Gulf of Mexico means it's summer all year long. I have learned that southern gardening is the exact opposite of northern gardening. Summer is too hot for most plants and winter is the time to really develop my green thumb. I try to make early garden preparations which includes getting organized. First order of business is to spruce things up. My potting bench gets a new skirt every year.
 
 
My potting table is an old wooden base with a door as the top. I also have a piece of galvanized metal which makes for easy clean up. Just below the top I placed 2 metal screw hooks that hold a narrow curtain rod. Every year I will make a skirt with a rod pocket so I can easily change the look. Plus it's ready for a refresh after enduring the elements all year long.

 
I tend to use thrift store finds for my skirt. I look for outdoor table cloths or shower curtains because both are water safe and hold up longer. I will sew a rod pocket and hem. Easy as can be. I loved this tablecloth because it looks like burlap.


I also like to clean my terra cotta pots and garden tools. I don't scrub the moss off of the pots though, I love the patina.

 
The skirt makes things look tidy and I can hide a lot of junk under there!

 
All that's left to do is to play in the dirt and make pretty things.

 
My green thumb is ready. If it's months away from gardening season for you, try making some pretty succulent window sill containers or a terrarium. There's always a right time to garden!


Wednesday, April 4, 2018

garden time

It's closing in on the best season...
gardening season!
I am so unbelievably fortunate to live in a place where I can garden all year long. But for those of you who suffered through a very long winter, I'm sure you are chomping at the bit to get in the dirt. I want to share a garden project that includes two of my favorite things: upcycled vintage treasures and succulents.
 
 
Most rusty chippy vessels hold one of two things in my home: seashells or plants. This old metal container reminded me of a mini window box so it was an easy decision to repair it and fill it with succulents.

 
I used E6000 to fix the broken seam. A clothes pin held it together as the glue dried. I also filled the bottom seam lines with the clear adhesive. Next I painted the container with matte spray paint. Once dry, I sanded the surface to distress the finish.

 
Use self-stick felt feet to protect table tops.

 
Place a layer of plastic along the bottom of the container (I cut a clear freezer bag slightly larger than the bottom so 1/2" would overlap the sides.) Then place a thin layer of clean small pebbles or gravel for proper drainage.

 
When planting succulents, mix clean sand or perlite into potting soil. You can buy cactus potting mix but it can be expensive and hard to find. The sandy soil works just as well! Succulents need to have a well draining soil so the roots do not rot.

 
I like to combine various colors, shapes and sizes of succulents. There are so many varieties available. I used cuttings from other containers to make this centerpiece.

 
Once all the plants are in place, I like to top off the soil with a thin layer of pea gravel. It helps hold new cuttings in place. Plus it looks pretty!

 
Place your container in a spot that will ensure success. Be aware of sunlight, shade and rain. Succulents can burn with too much mid-day sun and rot if too shady and damp.

 
With a bit of TLC your container will be very happy!

 
Even Peanut can appreciate a beautiful container.

 
I hope you are inspired to make a succulent garden for your home, garden or patio. They also make wonderful gifts for someone special. Thanks for visiting!
 

Saturday, January 30, 2016

something new...

For my January article in Romantic Homes,
I wrote a feature about how to develop a new look by using accessories. January is the perfect month to give your home a fresh new look. Once all of the holiday décor is taken down and packed away...don't simply put everything back the way it was. Start anew. All you need is inspiration.

 
This beautiful Transferware platter was the inspiration for this entire dining room makeover! Here are a few images that you didn't see in the magazine. Have a peek at the before and after images of this fun room revamp...

 
It can be a bit depressing after the holiday celebrations are over and the décor is all packed away. So take this time to look at your rooms like a clean canvas just waiting to be adorned. Decorating will be a happy post holiday activity!
This dining room was transformed with accessories that coordinated with the incredible color palette of the inspiration platter...

 
The captain's chairs were gathered around a side table... 

 
...add a lamp and some soft details and this corner is complete!

 
This lovely antique side cart is ready to be dressed...

 
...with beautiful florals and tiny sewing accessories.

 
It is truly amazing how much accessories
can completely transform a room.
 
 
"Set" a table with reckless abandon...

 
Look for places to add whimsy.
Tying mini wreaths onto the backs of the chairs
adds a festive touch.

 
Even small pieces of ephemera can make an impact in a big way!

 
A serving cart is given new life when it is loaded with clever accessories in shades of silver and lavender.

 
Soft yarns are too pretty to keep in a drawer...

  
There are so many tiny touches in this room
that add so much joy to the overall look.

 
No need for elaborate frames.
Sometimes a pretty paper print can make a statement just as it is...

 
Soften a room with linens. This corner is transformed with pillows, seat skirts and a delicate piece of lace draped over the lampshade.

 
Of course you should add flowers into every nook and cranny!

 
This once empty space is now a charming vignette
created with a hodge-podge of accessories that come together
in a beautifully unexpected way!

 
Keeping to a predetermined color palette insures
that a room makeover will be cohesive.

 
Scour your home for mix-and-match odds-and-ends. It will be like a treasure hunt that will yield a beautiful transformation.
 
 
"Shopping" in your cabinets and closets is a fun
and inexpensive way to give a room a new look! 
 
This story was featured in the January issue of
Romantic Homes magazine...
 
http://www.romantichomes.com/
 
Click on the cover photo for more information on the magazine,
lots of creative sharing and awesome subscription offers!


Thanks so much for visiting my blog!
I hope you found a bit of inspiration. Maybe a room makeover will be the perfect project to help you get through the winter doldrums.