pictures

              shop                               facebook                                blog
Showing posts with label flowers. Show all posts

Friday, January 22, 2021

see how they grow...

 I'm happy to share that the kokedamas are as happy as can be! If you are not caught up, the previous post is a tutorial on how to create an orchid kokedama. Kokedama is the Japanese word which means moss ball gardening. If you would like to see how to make one, simply scroll to the end of this post and click on the "previous" button

or click

HERE...

This is how they looked just a few months later.


I hung them under the grape arbor so they would be protected from summer storms and high winds. They thrive in humid environments and they prefer dappled light. I "water" mine by misting them with my garden hose.


It did not take long before my sweet little orchid balls were as happy as can be. They will shoot roots out of the moss which is a good sign that they are growing.


Remember that orchids are epiphytes, which are plants that grow on other plants but they are not parasitic. These air plants consist of orchids, bromeliads and various ferns.


When they are ready to begin the blooming process, you will notice a small sprout called a flower spike. It will usually appear at or near the center of the leaves. See the tiny spike in the above picture.


It's very exciting to see that first spike!
Especially if you're like me and you purchase an orchid on sale after it has past the blooming stage. Sometimes I don't even know the variety or color of the orchid I purchased. Flower clearance racks are wonderful! You can rescue a distressed plant that will otherwise wind up in the trash. Plus blooming orchids are between $20-$50. Yet they can be really inexpensive on a distressed plant sale.
My best bargain orchid was $3.00!


Be patient when waiting to see the first bloom.
From the initial spike's appearance until full bloom can take up to a few months.


I really hope you might be inspired to make an orchid or bromeliad kokedama. It is really easy and it's an unusual addition to any garden or home. Don't worry if you don't live in South Florida! There are ways to winter them over indoors and place them in your trees in the summer. Or if you live in an apartment or condo, grow them indoor all year. I would suggest looking to the internet for growing suggestions based on where you live.

If you should pass a sad looking orchid on clearance because it has finished blooming, why not take a chance. I'm clearly not an expert. If you are a master gardener with additional tips, please feel free to leave them in the comments or message me.

If you have blooming kokedamas, please share your photos!

Sharing is caring...

Monday, January 18, 2021

kokedama

 As it is no surprise, I adore all things gardening. And living in Florida, I have learned so much about southern gardening. I have also learned to love orchids!

Part of this love affair has included my introduction to kokedama. Which is a Japanese style of gardening. It means "moss ball gardening".

I would like to share with you how I make my kokedamas...


What you will need...

orchid

sheet moss

orchid potting mix

fishing line

scissors

My tip is to purchase orchids that have already bloomed and been placed on clearance. I buy mine at Lowes, Home Depot and Walmart. They are a fraction of the cost!


Gently remove the orchid from the container making sure not to damage the delicate roots.


Lay a sheet of moss with the moss side down. Then place a thin layer of orchid mix in the center of the sheet.


Now place the root ball of the orchid on the soil. Position it like the above photo.


I carefully wrap the moss around the root ball, adding soil mix as I go. Once the ball is completely covered with soil and moss, I use the fishing line to secure the moss.


The last step is to leave enough excess fishing line to create a hanger with a loop at the end.


It is a fairly simple way to display and grow orchids. I will hang them under the grape arbor so they are protected from winds and summer storms and they only get dappled sunlight which makes them really thrive.

Stay tuned and I will share these little beauties blooming in my garden.

Saturday, August 15, 2020

wash up

 After reminiscing about the shade garden on Sanibel from my last post, I thought I would share another small yet important section from my garden. The wash station.

I can easily spend countless hours in my gardens. No matter how dirty I get, it doesn't bother me a bit!

But when it is time to come inside, I want to at least get the first layer of muck off my hands.

So I carved out a small area to create a pretty wash station. It's much like a work bench with the addition of a large wash bowl, soap and towels.


The wash station is decorated with vintage garden themed accessories.


A large vintage Ironstone washbowl makes the perfect vessel for the wash station. I fill it with clean water when I begin my day and the sunlight warms the water so it is perfect when I am ready to get cleaned up.


Floating a few petal or flowers not only looks beautiful, but it smells fragrant and the natural oils from the flowers are released into the water. Nature's spa.


I like to keep a lovely bar of my favorite soap next to the washbowl. A little hint: to keep the soap dish clean, I place a small layer of tiny seashells or garden stones in the bottom of the dish. It keeps the bottom from getting all yucky.


I use linens to decorate my garden. A number of my old linens have stains or small holes. Instead of discarding them, I use them in my garden. Sometimes I buy slightly damaged linens and lace at yard sales just to use throughout my garden as well.


I don't know if you have ever considered a wash station for your garden. I can tell you it is a wonderfully helpful as well as beautiful place in my garden. If you do want to create one, why not make it pretty? A little lace can make an unexpected impact.

Have fun digging in your garden...

and pamper yourself when you're done.

Monday, July 20, 2020

evening garden walk

 It has been so hot. The garden is still doing well in spite of the hot sunny days. My favorite time in the garden is right after sunset but the darkness has not yet set in.

I stand and water for about a half an hour. The twinkle lights just start to glisten as I finish. It's magical.

Here are a few pretties from my garden.


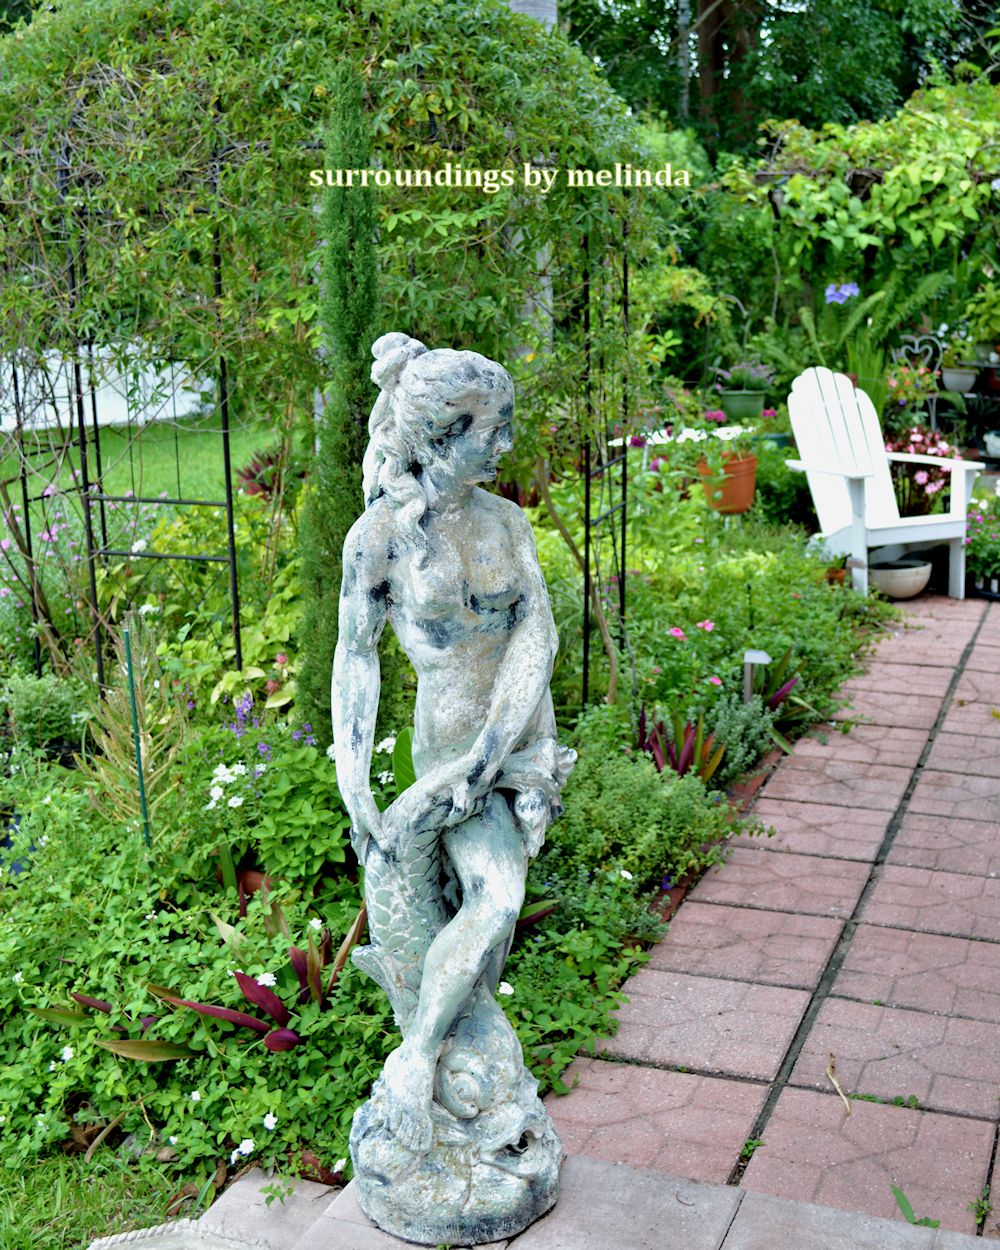
My beautiful girl keeps watch.


My first gourd.


It's such a sweet little thing.


Woven garden cloches to protect seedlings.


A little bench under the grape arbor.


Even a house for my fairy friends.


It's a magical place at a magical time of day.

Now I just need to wait until the fairies arrive.


Saturday, July 11, 2020

welcome

 A garden gate wreath is a cheerful way to welcome people into my garden.

I make different wreaths throughout the year.


A peek through the gate
and down the garden path...


I'll coordinate the wreath with the
flowers blooming in my garden.


All my garden birds are welcome.

And the bees are so plentiful again the year!

It's a wonderful summer season in the garden so far. Beautiful warm sunny days and occasional afternoon showers. Any time spent in the garden is good for my body and soul.

Wishing the sun is shining on you today.


Tuesday, July 7, 2020

nature's summer bounty

 Summer flowers are happily blooming like there isn't a care in the world. I feel so blessed to be surrounded by beautiful gardens, birds and bees. 

I take inspiration from some of my favorite historical gardens like those at the Edison summer estates.


Incorporating those inspirations into my garden make me feel connected to the past.

It's a wonderful escape.


Having a place to quietly sit and reflect in my garden is really important. I can enjoy the hard work that goes into my garden, I can appreciate God's beauty and I can escape reality even if only for a short while.

Wishing you all peace, beauty and good health.