pictures

              shop                               facebook                                blog
Showing posts with label painting. Show all posts

Tuesday, January 26, 2021

gorgeous grey

 Have you noticed the skyrocketing appeal of the color grey in interior design over the past couple of years?

I've been obsessed with shades of grey forever. Since my world is a wash of neutral tones, grey is a lovely companion "color".

A perfect example is my dining room.


I love the mix of natural wood, painted furniture, creamy neutrals and shades of grey.


I also mix together all of the things that speak to my heart like my love of beachy nautical treasures...


and a nod to my love for all things gardening.


A neutral grey palette looks wonderful with metallic silver like this collection of vintage watering cans.


I refinished this cabinet by painting the base in a soft off white distressed finish, I used an old world grey stain on the top and the hardware has an aged nickle patina.


The walls are two shades of grey separated by a white chair rail.


Old pewter, Ironstone and transferware are beautiful together.
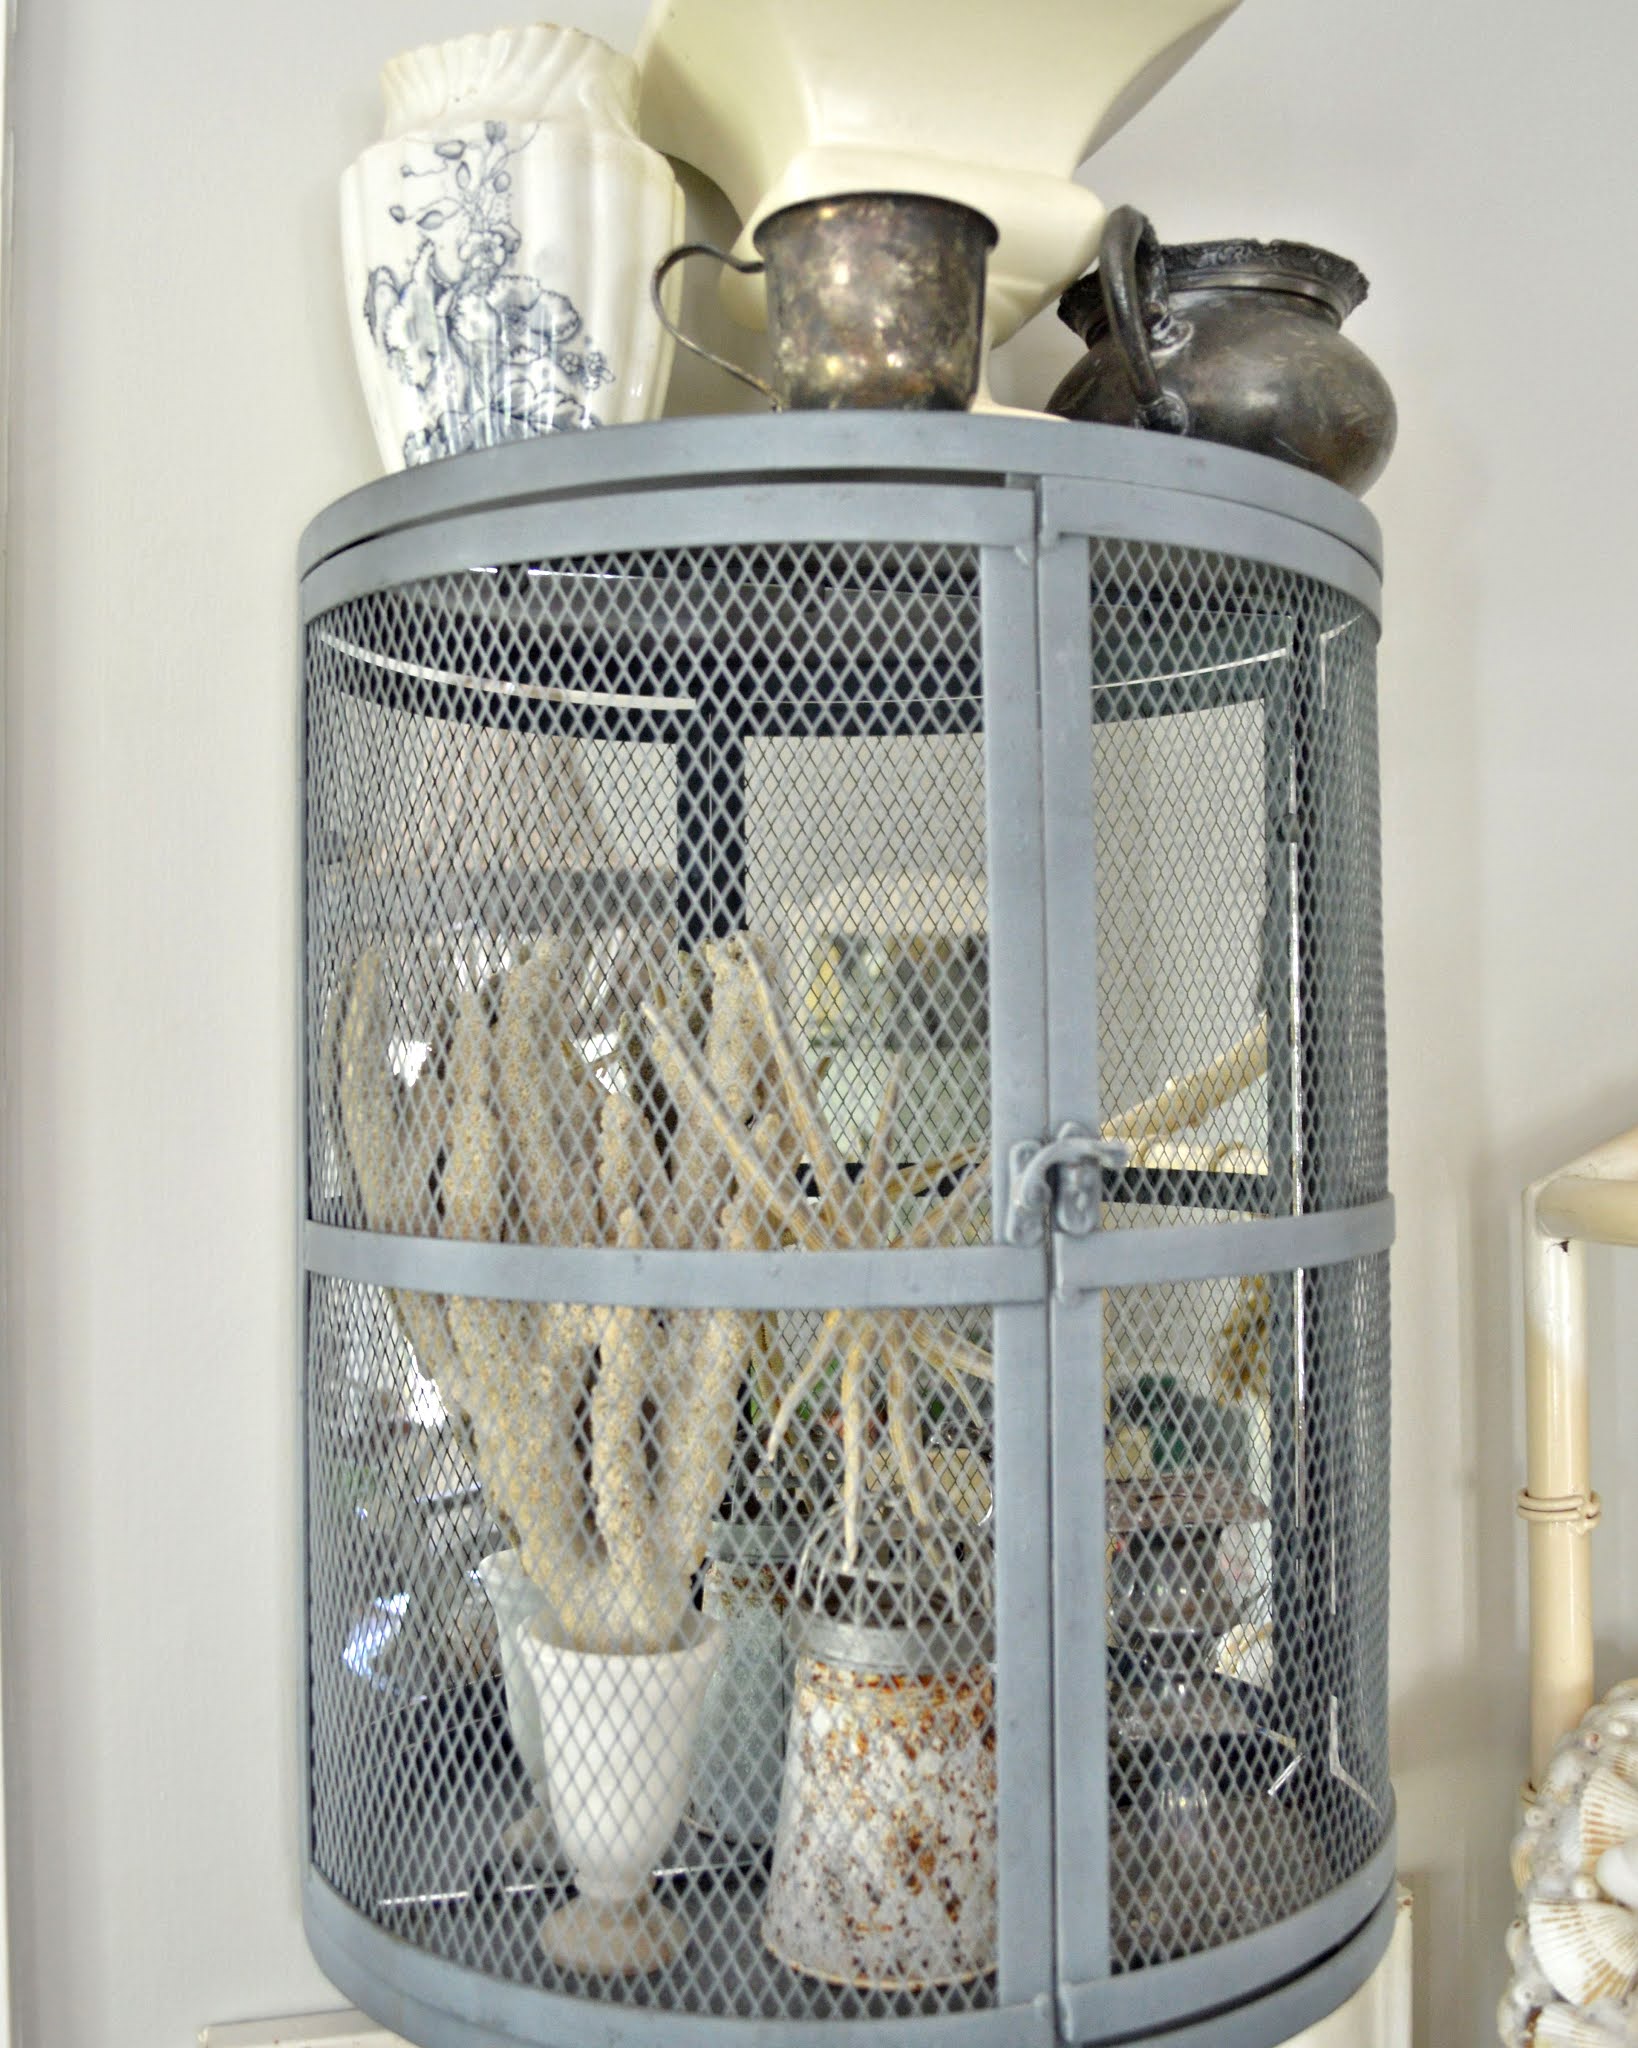

Although this is a "formal" dining room, I do love to add timeworn pieces like this old cupboard and chicken coop that give the room a classic farmhouse feel.


Hiding inside this piece is a collection of stoneware, crystal and pewter.


I think the juxtaposition of formal with informal furnishings and accessories creates a lovely stylistic balance.


I hope that if you can take anything away from my design posts is that there really are no rules when it comes to designing your home. Take chances with mixing styles and pieces that speak to you. Take risks with paint. You can very easily repaint a room for a impactful and inexpensive change. Creating a room by starting with a neutral base, allows for the ability to make decorative changes with wonderful and interesting accessories.

Happy decorating!

Friday, January 24, 2020

appreciating winter...at the beach

Having a grateful heart is so important. And I thank the good Lord above for my family, friends and the warm sun on my face every single day. Living in a beautiful place is a blessing and it is important to share those blessing with others. I love to enjoy this amazing place by having sunset beach picnics with those I love.
 
 
Start with a simple setting. I love all things vintage so an old folding table covered with an antique quilt, a bench or wooden folding chairs and pillows are a good start. Prepare for twilight by bringing a few candles and lanterns. Then load a wagon with refreshments and gorgeous flowers!
 
 
I also like to bring a few things like a sketchbook or painting supplies and a camera to capture the sunset.


Don't overthink the menu. Especially for a sunset picnic.
It doesn't have to be fancy or catered or even a full dinner.
 
 
 A sunset picnic can be as simple as a few special desserts and a wonderful pitcher of fresh lemonade. 

 
It's all about spending time with the people I love and enjoying the beauty the God has created.
 
 
And giving thanks of course!
Entertaining should be a stress-free process. It's about the people, places and having a grateful heart.
Thanks for visiting!


Friday, January 17, 2020

warm memories

It sure is cold in many parts of the country right now. I try to remember to have a grateful heart every day that I live on the Gulf Coast of Florida and winter is nothing like my memories winters in Canada or West Virginia! Winter is now a time for me to look forward to cold fronts because cold fronts bring in the seashells not the snowflakes!
*You will notice some descriptive words are bold, these are the items I used and links to where you can find them.

 
If you aren't lucky enough to be at a beach right now, let me ask...do you have a random bag or box of shells you brought home from a summer vacation?
I thought I would post some seashell inspired projects and crafts for you to try this weekend in case you are cooped up in the house! I have collected shells my entire life and here are a few of my latest seashell projects...
 
 
I found this little wooden shelf "ladder" at a yard sale for 50 cents! It was very country, it had a warm stain and a heart cutout at the top. I painted it white and covered the shelves and heart cutout with an old map. I glued on the map using Mod Podge and then gave it several protective coats. Once dry, I used E6000 to attach shells to each shelf. 
 
 
For the next simple project, I created a shadow box by painting a wooden wine crate white and distressing it with sand paper. Then I glued a map to the inside (I used the Mod Podge again). Once dry, I affixed random shells and found objects to the box using the E6000 once again.

 
This charming old bottle has a crack so I turned it to the back and secured it in place with glue. The sea glass color adds a different texture to the shadow box.

 
I pick up bits of everything special at the beach: from sea whips to urchins to driftwood. You can add picture wire and hangers to the back to hang on a wall or simply display your shadow box on a shelf.

 
I love to make wreaths! So adding shells to a wreath seems like a natural fit. The base is a huck wreath I make by wiring twigs, wheat and millet to a wire wreath base.

 
Then I use my high temperature hot glue to add a thick border of shells, sand dollars, starfish and sea urchins around the center opening. Then I added some bits of natural green reindeer moss and tiny white silk flowers to add a natural soft touch to the finished wreath. This type of wreath needs to be kept indoors and out of direct sunlight. It could fade over time.

 
For a super cute and really easy project, paint an inexpensive lamp a fresh beach color using spray paint. Once dry, attach a beautiful shell and/or starfish to the lamp base. E6000 is the best adhesive for this project too. You could use hot glue, however, the shells could pop off over time.

 
I bought this lamp at a second hand shop. I sprayed it with Krylon Catalina Mist. Once dry, I dry brushed Kliz Dark Wax over the base and let dry. Finally, I attached a shell and starfish with E6000.

 
The next project is shell inspired. I painted and covered the seat of a garage sale chair (only $5).
First step is to remove the seat. Next, spray paint the entire chair with Rust-Oleum Vintage Teal satin paint.

 
Once dry, I sanded it lightly all over. Then I sprayed the entire chair with a light coat of matte white paint. I've used every brand and I like them all! Once this coat dried, I sanded the entire chair again allowing some blue to come through. Then I dry brushed some Waverly Celery matte chalk paint randomly in patches all over the chair. After everything was dry, I heavily sanded the natural wear spots like the corners and edges. I covered the seat with Waverly Coral Shell Spa fabric.

 
Whether you live near the beach or in the cold North, dig out some seashells and create something! Savor the memories from vacations past. It will warm your heart and remind you
of summer breezes under the sun.
Enjoy!


Monday, August 21, 2017

precious powder room

As my "sea shell inspired month" of August continues,
I thought I would share a little powder room
that is as easy breezy (and adorable) as can be!
 

White walls are brought to life with the thoughtful application of adorable hand painted birds and sea grass...
 
 
Be creative with the placement of the stencils.

 
Look at the architectural features of the room as places that can be used for display. The flat chair rail above the bead board makes a tiny shelf for displaying a collection of small sea shells.  


Storage space for hand towels and wash cloths is a must in bathrooms yet space in this room is quite limited. The solution is a vintage coat tree and a few natural woven baskets.


With a couple of stencils and a neutral palette of acrylic paints, you too can create a special design feature in your home.

 
If you're intimidated by hand painting walls in your home, start small. A powder room is an ideal space to practice.
Remember...it's just paint. If you don't like the results you can always paint over it! Happy decorating...