pictures

              shop                               facebook                                blog
Showing posts with label vintage textiles. Show all posts

Friday, February 12, 2021

hand sewn hearts

 Although rainy days are a rare occurrence here, especially this time of year, I like to be stationed in my sewing room. It seems like the perfect reason not to be in my garden.

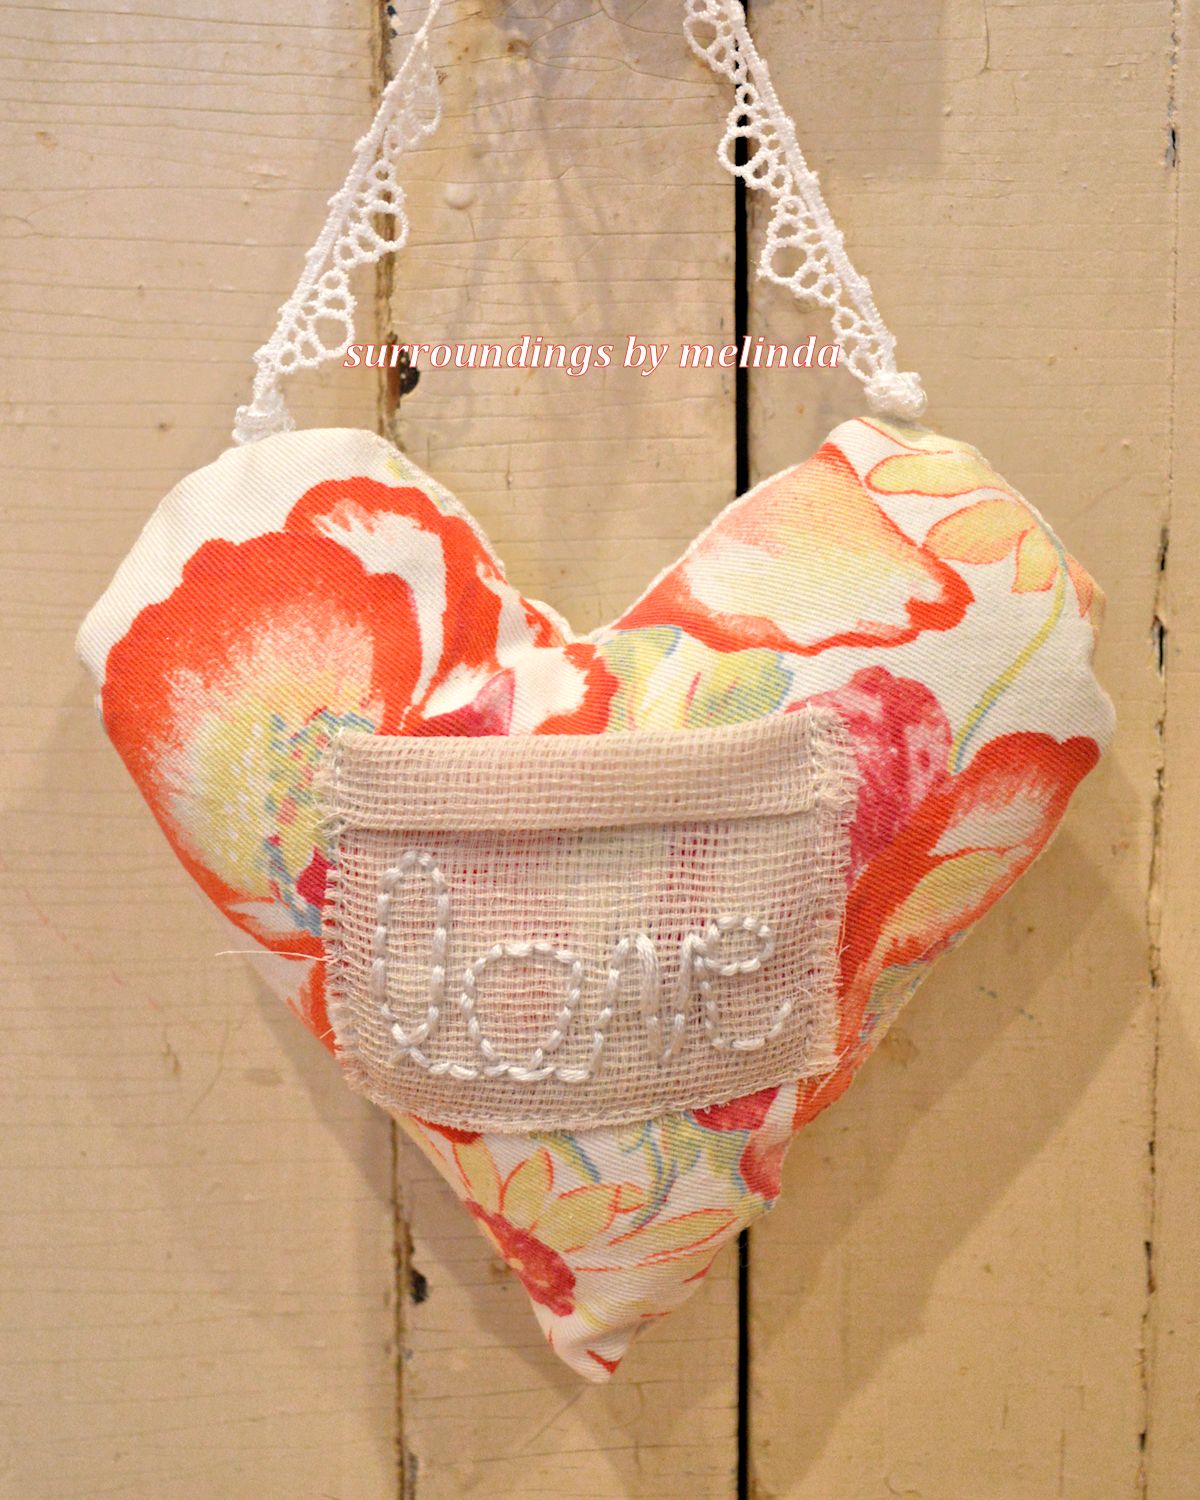
Right now my heart is thinking of love. So why not make some Valentine's Day vintage fabric hearts. Normally I make these hearts in all neutral colors and I sew on an antique key. I call these the "key to my heart" mini heart pillows.

But these are a little different. I've been saving this wonderful old cotton and linen table runner. Although there are stains, I loved the vibrant colors of the floral design. So I cut out as many hearts (roughly 6-8 inches each) as I could, trying to carefully avoid the stains. They are filled with batting and I added small pockets on each.


All of the pockets have a hand stitched message of love and include a small ephemera card so a personal message can be written inside.


No two hearts are the same because the way I cut the fabric from the table runner. And each little pocket is different as well.


The extra tiny pockets can also be used as tooth fairy pillows for wee ones. It's nice because the "fairy" doesn't have to fish the small tooth out from under the pillow of a sleeping child.


The slightly larger pockets can hold a letter, photo or gift card.


I had great fun creating these small puffed heart pillows.


If you are inclined to make handmade gifts for family and friends, this project is very simple. It's great for beginner seamstresses.

Nothing beats a handmade gift from the heart. After all, most of us are not out doing a lot of shopping right now.

I wish you...lovely projects for rainy days.

Friday, January 8, 2021

stitched with love

 For those of you who sent a note and asked about the quilt angel in the post from January 1st, I can't share where I purchased it.

Because I didn't buy it, I made it! And it is so easy to make. I have shared vintage quilt projects in the past, I have even shared them in magazines. I'm happy to share it again.

Here is a quick tutorial...


I don't have a pattern that I use, these are the basic shapes. Remember you need two identical pieces for a front and back for the head, body and arms.


Once stitched wrong sides together, turn it right side out and fill with batting. You can even add dried lavender and rose petal potpourri to create a scented sachet.


I create a retro 1930's hair style with yarn. The face is simply two light blue dots with a fabric pen and pale pink cheeks. Use your creativity and make any hairstyle in any color you wish: red braids, brown curly locks or long blond tresses.


For the wings, I find an old doily and weave a circle around the outer edge with wire. Then pinch the circle together in the center to form a double wing shape.


Fasten the wings to the back with stitches or hot glue. Then embellish your angel in any way you like.


I like to bring the arms together in the front to give the appearance of praying. Sometimes I place a starfish in her arms or flowers or a vintage ornament.


These precious angels can be made in any size. These are just a few tips to get you started. Use your imagination to create your special angel. This is a wonderful project for beginners just learning to sew!

And please don't worry, no quilts in good condition were harmed in the making of this angel. I use something called a cutter quilt for my craft projects. Cutter quilts are damaged and in very poor condition, yet there are sections salvageable for projects. These quilts are found at yard sales and thrift shops for just a few dollars.

Do you have a favorite craft project that you have enjoyed making during the pandemic? I lost my creative way for a bit, but revisiting things I've made in the past is helping to restore my joy.

Feel free to share your project ideas,
I love to be inspired by others!

Friday, August 21, 2020

lace chairs

 It's official, I am on a lace kick as of late.

Since I've been sharing so much about how I incorporate vintage linens into my life, I thought I would share one of my favorite lace projects.

I covered a pair of oval back side chairs with all sorts of vintage lace, crochet and tatting.


I started with a pair of French country oval back side chairs with fluted legs and lovely carved floret designs.
The wood has a natural stain and white furniture wax finish to highlight the beautiful details.


There are more than 60 doilies, lace panels, crochet pieces and miscellaneous trimmings on the chairs. Every inch of the upholstery  on the front and back as well as the seat are embellished with assorted antique finery.


If you would like to try a project like this but are a bit intimidated, you could start with something small like a footstool.

I am so pleased with the finished chairs. To protect the lacework, I sprayed the finished chairs with Scotchgard.

Tuesday, August 18, 2020

love of lace

 It's interesting how blogging lately has been a fluid process for me. meaning, one blog triggers a train of thought, then the next and the next. This blog is no different.

So in my previous post about the garden wash station, I mentioned that I like to use some of my stained or damaged old lace and linens to decorate my garden.

Truth be told, I pretty much surround myself with antique fabrics. They are my favorite color (all shades of white), they soften a space and I love the antiquity that they represent.

Here are some of the types of vintage linens that I collect...


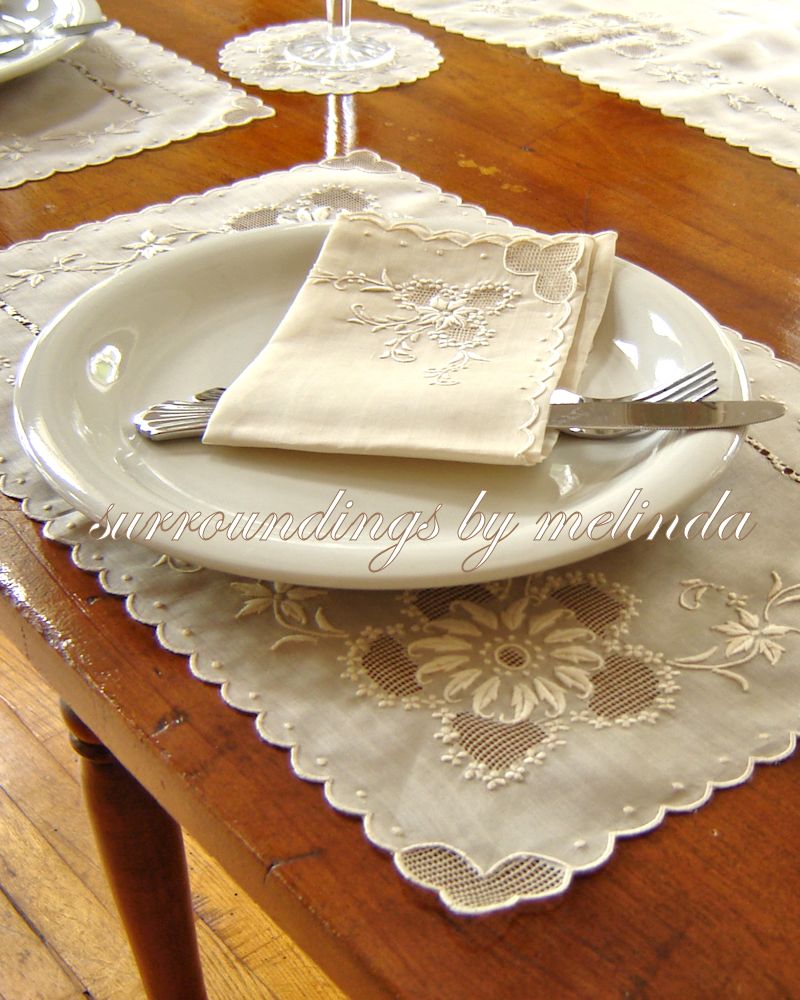
table linens


antique collars


crochet pillow cases


miscellaneous lace trimmings


There is just something magical and lovely about old lace, crochet and linens. It warms my heart and conjures thoughts of an elegant way of life. Do you have old family linens hiding in a drawer, cupboard or a box in your home?

Why not get them out, iron the wrinkles and find a way to display them. It's hard to appreciate just how special these old pieces are if they are not being truly appreciated.

Saturday, August 15, 2020

wash up

 After reminiscing about the shade garden on Sanibel from my last post, I thought I would share another small yet important section from my garden. The wash station.

I can easily spend countless hours in my gardens. No matter how dirty I get, it doesn't bother me a bit!

But when it is time to come inside, I want to at least get the first layer of muck off my hands.

So I carved out a small area to create a pretty wash station. It's much like a work bench with the addition of a large wash bowl, soap and towels.


The wash station is decorated with vintage garden themed accessories.


A large vintage Ironstone washbowl makes the perfect vessel for the wash station. I fill it with clean water when I begin my day and the sunlight warms the water so it is perfect when I am ready to get cleaned up.


Floating a few petal or flowers not only looks beautiful, but it smells fragrant and the natural oils from the flowers are released into the water. Nature's spa.


I like to keep a lovely bar of my favorite soap next to the washbowl. A little hint: to keep the soap dish clean, I place a small layer of tiny seashells or garden stones in the bottom of the dish. It keeps the bottom from getting all yucky.


I use linens to decorate my garden. A number of my old linens have stains or small holes. Instead of discarding them, I use them in my garden. Sometimes I buy slightly damaged linens and lace at yard sales just to use throughout my garden as well.


I don't know if you have ever considered a wash station for your garden. I can tell you it is a wonderfully helpful as well as beautiful place in my garden. If you do want to create one, why not make it pretty? A little lace can make an unexpected impact.

Have fun digging in your garden...

and pamper yourself when you're done.

Tuesday, August 11, 2020

reminiscing

 I have been spending so much time working on my gardens at my "new" 1920's home. It has made me think about my gardens at my Sanibel Island home. Although both are on the Gulf coast, the gardens are completely different. I have been carving out a niche for a cottage garden little by little. I have been thinking of adding some inspiration from the shade garden in Sanibel.

Here are a few pictures from a walk down memory lane.


I have always decorated my gardens like I decorate inside.
Furniture, accessories, lace, linens, lighting and of course...plants.

I can't wait to keep seeing how these gardens will unfold.

Everyday is a new discovery.

Thursday, May 21, 2020

pretty in pink

The last post got me thinking.
 
I realized I have a real garden passion for
 
PINK.
 
I had shared that my home is all neutral.
 
But when I think about it,
it's not all neutral I guess...
 
 
All of my homes have had one space
reserved for touches of pink.


At my Pennsylvania, home my studio
was located in a shed
in the middle of my garden...
 
 
On Sanibel it is the entire top floor of the house.

I'm so fortunate to have had my studio featured
in Where Women Create magazine!
 
Lovingly I call it the loft...
 

In this "new" old house
my studio has not yet been built.
 
I can't wit for that project to begin!
 
I must find pink calming
yet inspiring.
 
Do you have a color
that sparks your creativity?