pictures

              shop                               facebook                                blog

Wednesday, October 14, 2015

pleasantly preserved

A few of you emailed me and asked about the dried fruit and flowers in my previous post. It is a fun and easy project that will preserve your dried harvest in a beautiful manner.
 
waxed fruit

 
I love to integrate nature into my home especially in the fall.
Over time, elements like sunlight and moisture will inevitably get the best of my dried harvest. One solution is to preserve my precious finds in scented wax. Not only will they last longer, but the added essential oils add an amazing fragrance to my home.

 
materials:
 

Dried flowers and fruit
Block of wax
 Candle essential oil
Double boiler
Waxed paper
Tongs

 
instructions:
 
1.      Make sure that the fruit and flowers are completely dry and contain no longer contain any moisture.
2.      Cover your work surface with waxed paper.
3.      Melt wax in a double boiler over hot water.
4.      Scent melted wax with candle oil scent of your choice. Add oil slowly until desired level of fragrance is reached.
5.      Using the tongs, gently and slowly lower a dried flower or slice of fruit into the wax. Coat lightly. Repeat until completely covered. Allow excess to drip into the pot then carefully place the flower onto the waxed paper to cool and harden.
6.      Coat one item at a time. Do not allow the pieces to touch when they are cooling on the waxed paper.
7.      Once completely dry and cool, use the waxed fruit in your centerpieces and decorations. Keep them away from heat sources and out of direct sunlight.
8.      Store them in an airtight container in a dry and dark place until next season.
 
 
The waxed fruit and flowers photographed here
are more than 10 years old!
 
This project along with loads of additional creative fall decorating inspiration can be found in the fall issue of
 
Flea Market Décor magazine...
 
 
Thanks so much for visiting. Keep the questions and feedback coming! I really appreciate you taking the time...

Friday, October 9, 2015

flea marketing for fabulous fall finds...

Although I truly appreciate color, I tend to surround myself in a cloud of creamy white. I find a pale palette at home to be quite soothing. It also allows for ease of changing my décor every season. As many of you know, I live on an island. It is beautiful and tropical...but not exactly an ideal spot to find mums and pumpkins. As autumn approaches, our weather doesn't really resemble that of my memories of fall in the hills of West Virginia. To remind myself of Northern October bliss, I do try to add autumnal touches around my home. I shared a few of my favorite neutral seasonal decorations in the Fall issue of Flea Market Décor magazine...

 
ceramic pumpkin, cornucopia and pheasant...


dried and painted gourds...


painted papier mache....


The entire issue is filled with loads of
inspirational autumnal décor!


 I really hope you enjoyed the issue. Happy decorating...

Thursday, October 1, 2015

feeling like fall...

Happy October! Fall is here and it was always one of my favorite seasons. The changing leaves, amazing colors and cooler temperatures were always very alluring to me. Now that I live in the Gulf of Mexico on a beautiful island...fall has a very different feel. I miss the glorious leaves, mounds of pumpkins and cool brisk air. I do love that gardening is a year-round activity and walking the beach in the warm sea air is part of everyday life no matter the season. So I am embracing island life by introducing bits of autumnal color into my home and celebrating the joy of all year gardening. Here are a few extra images from my article in the October issue of Romantic Homes magazine. For this issue I opted to photograph my own kitchen. I hope you enjoy the fall tour...

 
My kitchen is small in stature,
however it has a large work load everyday.

 
The palette is very neutral so incorporating color can happen effortlessly every season.

 
My kitchen is on the third floor and has an amazing view over the garden. It also has a balcony perfect for feeding birds and sitting outside for a cup of tea.

 
The old farm sink has to multitask between washing dishes, prepping for dinner and cutting fresh flowers from the garden.


My kitchen is the heart of my home and centered in the room is the elevator that makes trips down to the garden a snap. Using a vintage glass paneled door helps to blend the new technology of an elevator into the eclectic feel of the rest of the home.

 
Bleached burlap insets soften the wooden doors
that hide the laundry closet.

 
Heavily carved Indonesian doors surrounded by painted porch posts are the entry to the pantry.

 
A simple pot holder displays retired garden hand tools.

 
The addition of red Transferware, a vibrant bouquet of flowers and some charming apple linen napkins are the subtle bits of color that hint at the arrival of fall.


To see this article as well as the entire fall issue dedicated to charming kitchens I hope you will look for the October issue of Romantic Homes magazine!
Past issues and terrific subscriptions are available online...


Thanks for visiting my autumnal kitchen. I hope you found inspiration and are ready to embrace fall...


Monday, September 7, 2015

it's not over yet!

Happy Labor Day everyone!!!
 
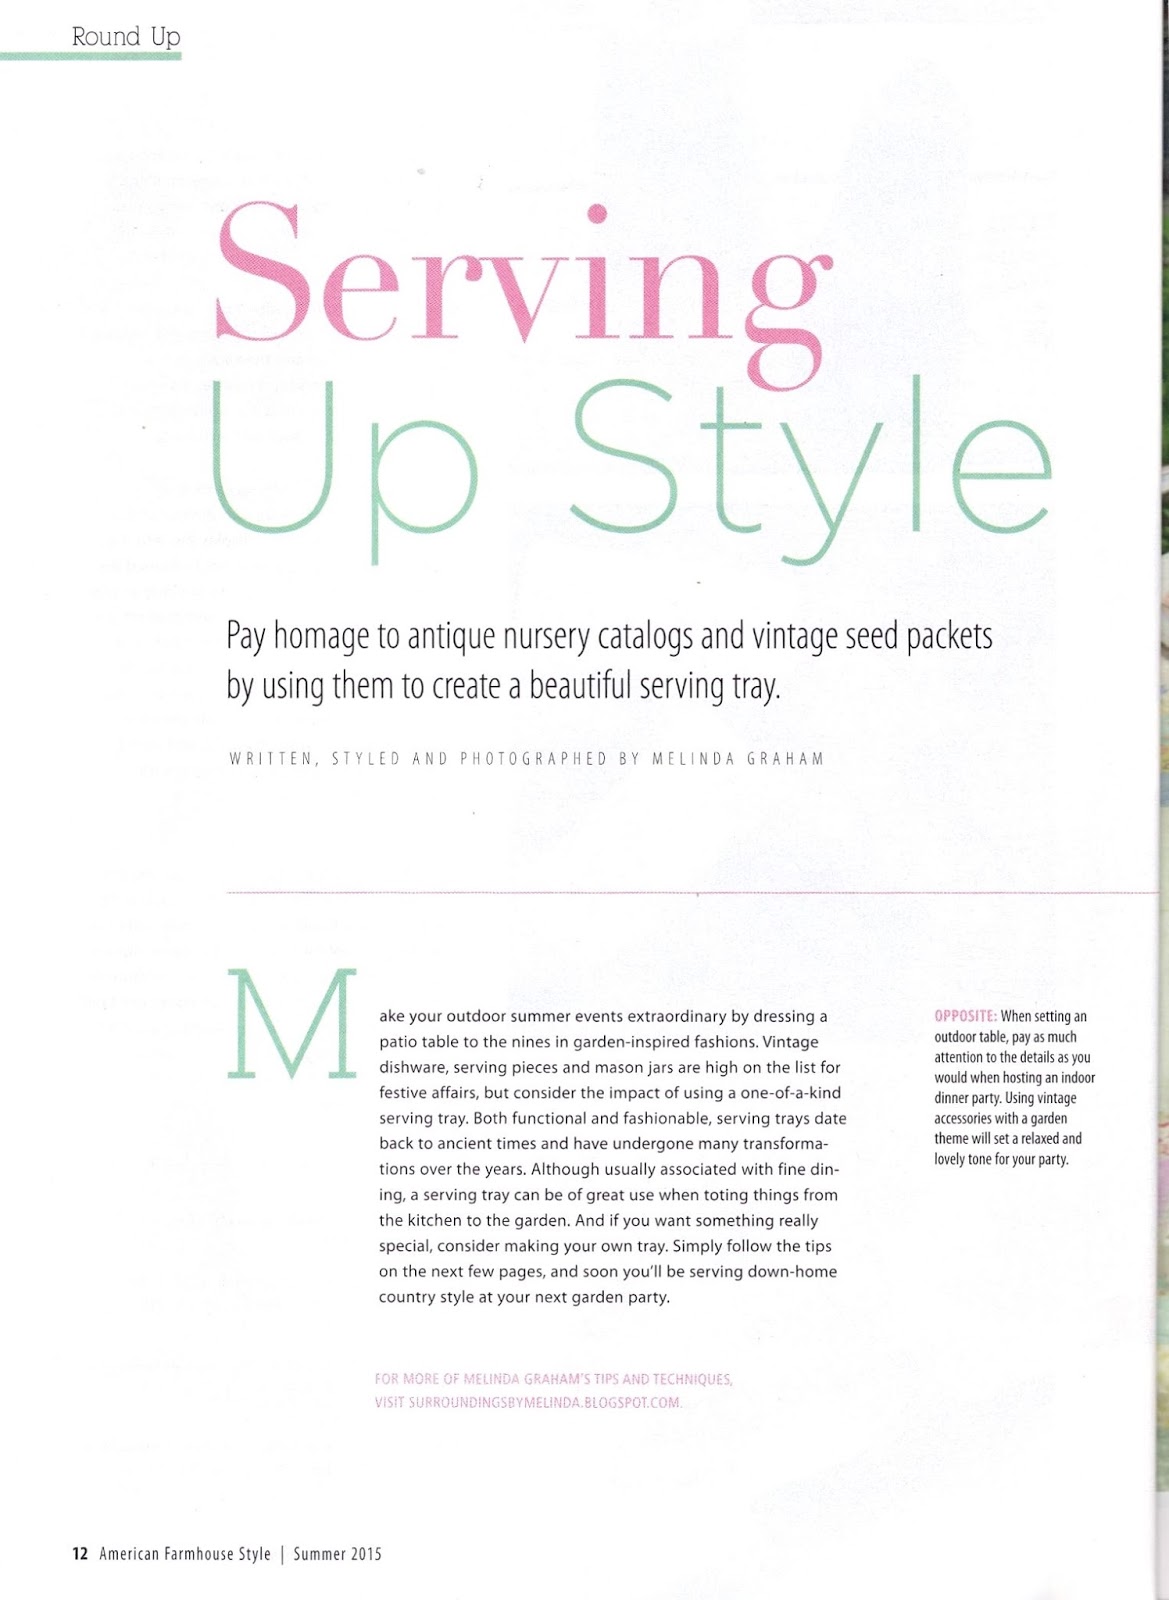
I love this time of year but for so many people it means the end of summer is near. Well it's not over yet. The first day of fall doesn't arrive until September 23rd. So take advantage of the beautiful days ahead. One way to pay homage to summer, the picnic season, is to create a lovely tray using vintage materials and images of antique seed packets.
 
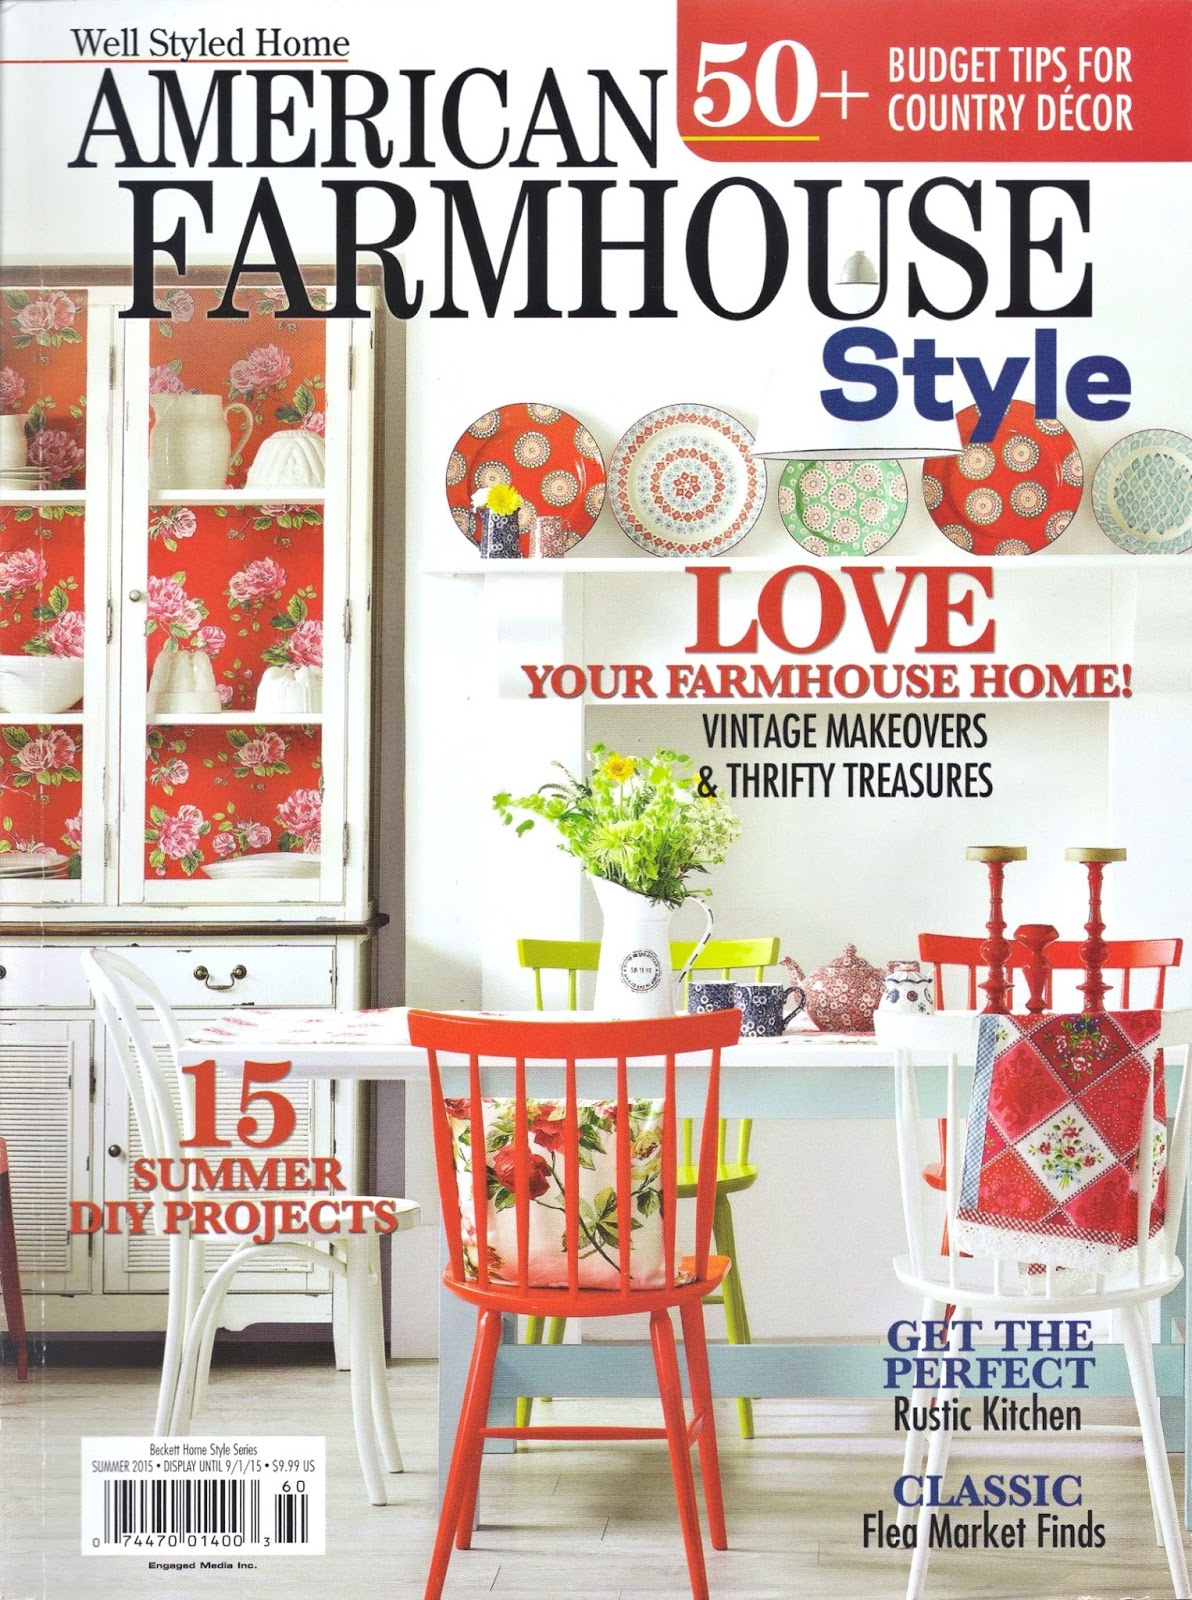
In the summer issue of American Farmhouse Style magazine I featured an article on how to create a charming seed packet tray. Here's a peek at the article and the instructions follow...Enjoy!


Materials:
Old tray, glass and wood backing
Small nails and hammer
Screws and screwdriver
Paint and paint brushes
Foam core
Photo paper
Copies of vintage seed packets and catalog covers
Felt
Craft glue
Scissors
*Optional: pressed flowers 
 
Take apart the tray by carefully removing the backing and glass.
Paint frame and allow it to dry completely.
Sand the frame to give an aged appearance and wipe clean.
 
Cut a piece of foam core to fit inside the frame.
Print and cut out images of vintage seed packets and old seed catalog covers.
Arrange all of the cut-outs on the foam core.
Once the final arrangement is configured, make decoupage medium by mixing ¾-cup white craft glue and ¼-cup cool water in a bowl.
Paint a thin layer of decoupage medium on the back of each cut-out and secure in place. Allow the glue to dry completely.
 
OPTIONAL: glue dry pressed flowers and petals randomly
onto the ephemera.
 
 
Clean the glass and place it into the tray then gently
add the foam core as to not damage the paper or petals.
  
Secure the foam core into the tray by nailing small brads along the perimeter. Do not nail too closely to the corners
or the glass may break.
 
 
Reattach the wood backing to the tray.
 
 
Cut a piece a felt the size of the tray and glue onto the back. Allow to dry.
 
 
The seed packet tray is ready to serve...
 
 
This story was featured in the summer issue of
American Farmhouse Style magazine.
It's a beautiful publication from cover to cover!
 
 
 Serving up Style...

 
Trays aid in table service for outdoor dining and they make a charming addition to any picnic.

 
Make the most of the remaining days of summer!!!

 
Here are a few images of vintage seed packets you can download and print for your next project.


Thanks so much for visiting.
I hope you've had a wonderful Labor Day!!!